


Solutions
Horse Construction offers full range of structural strengthening materials with technical supports, documentation supports, products supports, project supports.
The development of concrete crack repair technology provides more reliable and efficient solutions for building maintenance and structural reinforcement.
01
Construction preparation
Based on the actual condition of the concrete at the construction site and crack locations, compare it with the design drawings to determine the construction plan and construction plan, and make preparations before construction.
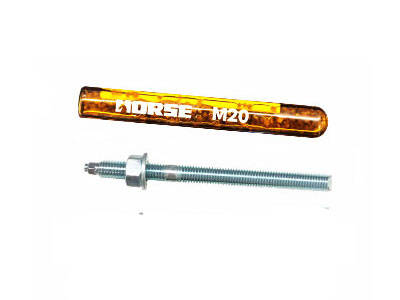
Main equipment: angle grinder, mixer, electronic scale, cutting machine, etc
Working conditions
Construction should be carried out under ambient temperature conditions above 5 ℃. If the ambient temperature is below 5 ℃, special adhesives suitable for low temperature should be used or other heating treatment measures should be taken. If the temperature is below 0 ℃, construction should be suspended. The repair process shall not be exposed to sunlight or rain, and it is strictly prohibited to carry out outdoor crack repair construction under wind, sand, rain, and snow weather conditions.
Crack labeling
Mark and inspect the cracks to determine the construction plan.
If the crack width is ≤ 0.2mm, it can be directly treated with sealant. If the crack width is greater than 0.2mm, it needs to be treated with sealant. For larger concrete components with deeper cracks, sealant should also be used.
02
Inspection and cleaning
Surface cleaning allows for better adhesion between colloids and substrates.
Surface treatment
For all cracks to be treated, draw lines on both sides of the crack. First, use a wire wheel or wire brush to remove dust and dirt from the joint opening. Then, remove dirt and dust from the sealing parts on both sides of the joint opening. Use a cutting machine to cut V-shaped grooves with a depth of 2-4mm and a width of 4-6 mm along the joint, and chisel the surface of the concrete inside the crack. Apply rust prevention treatment to the exposed steel bars.
The polishing of the components should be smooth, especially the protruding parts on the surface, and the corners of the concrete components should be trimmed into rounded corners using an angle grinder. If the radius of the circular arc angle is not specified in the design, for beams, slabs, and columns, a circular arc with r ≥ 20mm should be taken.
At the same time, remove the loose debris on the surface of the seam and use compressed air to remove the floating dust in the groove. Wash and brush with acetone along the seam length range to clean the surface.
If there are no regulations in the design, it is advisable to chisel a U-shaped groove. The surface of the original component should be uneven, and it should also be chiseled into a flat arc surface that is convenient for continuous sealing along the crack direction, without local protrusions or height differences.
03
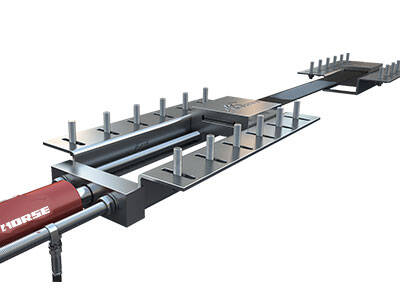
Burying grouting nozzles
Wide seams can be thin, narrow seams should be dense.
After cleaning the cracks, use sealing adhesive to bury and paste grouting nozzles on the cracks, preferably at the intersection, wider areas, ends, or widened joint openings of the cracks. If there are inclined holes on both sides of the crack, after removing dust from the inclined holes, the conduit can be inserted into the inclined holes according to the depth of the holes or the grouting nozzles can be directly buried at the hole opening. The spacing between grouting nozzles should be 30-50cm along the length of the joint according to the width of the joint. In principle, the wide joint can be sparse, and the narrow joint should be dense. Each crack must have at least one exhaust hole and an inlet hole. For exhaust holes, they can also be reserved 10-30mm away from the end of the crack (unsealed) for grouting. Checking the grouting effect will not affect the quality of the grouting.
04
Sealing cracks
Consistent width and uniform thickness.
Sealing seams
For cracks in the glue injection area, regardless of the width of the crack, they should be sealed simultaneously to prevent the cracks from penetrating each other and leaking air or glue. After burying the glue nozzle, seal it along the seam with the prepared sealing glue. When sealing, use a spatula to scrape the sealing glue GA-501 within a 50mm wide range along the crack direction, with a thickness of about 1.5-2.0mm. If there are many small cracks on both sides of the seam, apply it to 8-10 centimeters wide, press the edge of the glue, eliminate curls, and try to complete it in one go to avoid repeated application. The concrete peeling area should be filled tightly, and special attention should be paid to the connection with the injection seat. The surface of the sealed joint should be smooth and even, and the edges should be tightly attached to the concrete surface without curling.
Sealing inspection
After the material is cured (curing time: 12 hours (20 ℃), 6 hours (30 ℃)), apply a layer of soapy water along the joint, and introduce compressed air with a pressure of 0.2MPa from the grouting nozzle to check the sealing effect of the joint. If there is bubbling on the sealed seam, the area should be resealed. When the seam is longer, segmented gas testing can be used for inspection.
For through-hole cracks that can only be sealed on one side, different degrees of gas testing can be conducted based on their depth to speculate the size of the unsealed seam on the opposite side. If the leakage on the opposite side is more severe and the depth is shallow, the viscosity of the slurry can be appropriately increased, and the method of pressure reduction delay can be used to continuously inject it.
05
Injecting glue
Inject from top to bottom, from the middle to both ends.
Glue preparation
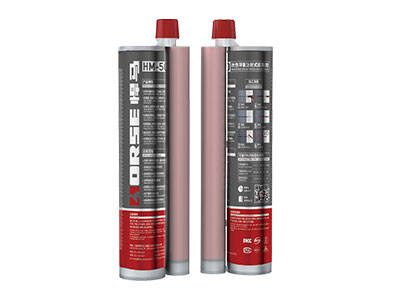
Mix and stir the two components of GA-500 sealant evenly. If you can use up the entire packaging at once, there is no need to weigh it, just mix them all together; When the dosage is small, weigh the two components separately and mix according to the prescribed ratio.
At the initial stage of preparation, the viscosity is low. For narrow seams, it should be poured immediately after preparation, and a small amount should be prepared. The prepared slurry should be used up within 1.5 hours. In short, the one-time mixing amount and viscosity of the slurry can be adjusted according to the width of the seam, the depth of the seam, the temperature of use, and the injection rate and amount during grouting.
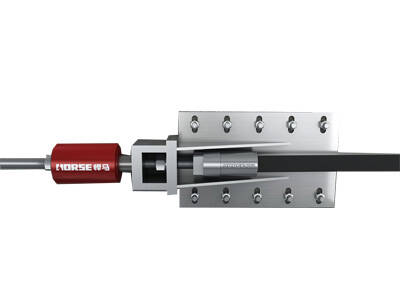
Grouting process
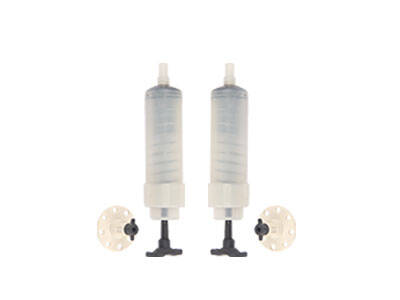
Install the needle cylinder with glue installed on the base in a sequence from one end to the other. For vertical cracks, release the pressure of the needle cylinder from bottom to top in sequence. Leave air holes and slurry inlet holes in advance during the injection time. After the slurry is discharged from the air hole, use it as the inlet hole for injection, and proceed in sequence. The lower inlet hole should be sealed (can be blocked with bolts wrapped with raw materials) until it is filled.
Due to the strong permeability of the adhesive, it can penetrate fine pores. To prevent the newly filled adhesive from being absorbed by the concrete and forming voids, the removal time of the needle should not be less than 1 hour until the initial setting of the adhesive in the needle.
For horizontal cracks, the grouting sequence can be from both ends to the middle, or from the middle to both ends, with a reserved grouting hole in the middle. The method of grouting is the same as for vertical cracks.
For deep and non conventional cracks, first pour the grout from the inclined hole on the side of the crack to the deep layer of the crack. Grouting equipment can be used, mainly using low-pressure and low-speed instruments. The grouting pressure is 0.1-0.6Mpa, and the pressure can be adjusted according to the degree of crack filling; Then pour from the surface, and the infusion time should be appropriately extended during the injection process.
Precautions
When the operating temperature is below 5 ℃, cracks smaller than 0.2mm should generally stop pouring. The preparation ratio of the slurry should strictly follow the instructions and should not be adjusted arbitrarily.
You can find anything here you are in need of, have a trust trying on these products, you will find the big difference after that.

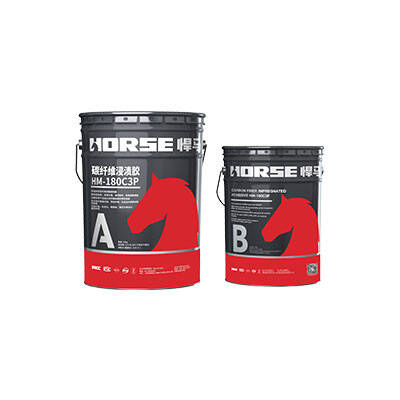
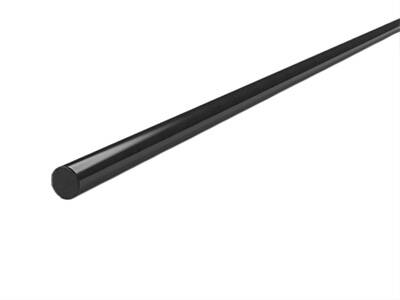
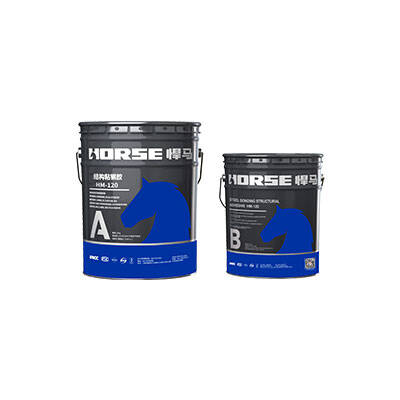
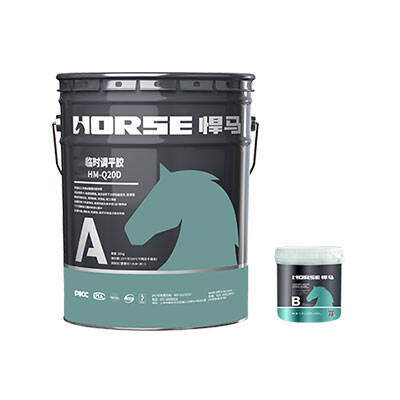
High strength crack sealing repairing adhesive for the fracture surface of concrete crack

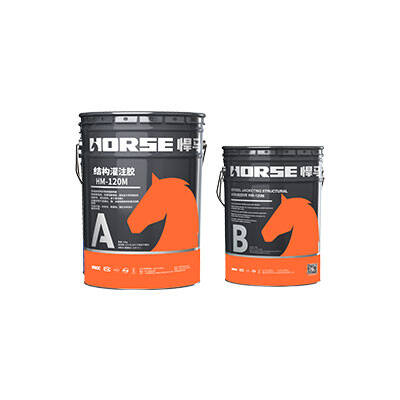
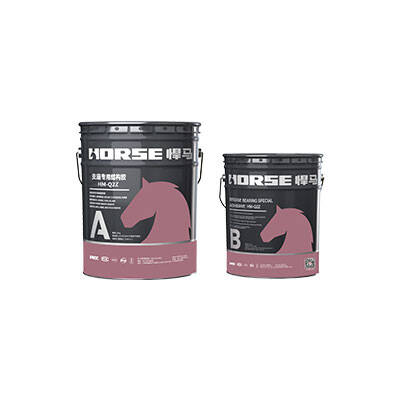
Very strong penetration and low viscosity epoxy crack injection adhesive for repairing concrete crack

